Evacuation Plan Creator

Upload a floor plan and mark evacuation routes, exits and safety equipment.

Evacuation Plan Creator

Create a professional evacuation plan for your building or business premises.

95%

A guide to creating an evacuation plan

Everything you need to know about evacuation plans - from legal requirements to proper marking and placement. Learn how to create an effective plan that can save lives.

What is an evacuation plan and why does it matter?

An evacuation plan is a graphic representation of a building that shows all the information needed to leave the building safely in an emergency. This includes evacuation routes, emergency exits and the locations of fire extinguishers, hydrants and assembly points.

Why it matters: In emergencies such as fires, earthquakes or other hazards, people often become disoriented because of panic and stress. A clearly marked evacuation plan helps them find their way quickly and leave the building safely, which can save lives.

Statistics: Research shows that properly posted evacuation plans can reduce evacuation time by 30-50%, which is critical in the first minutes after a fire breaks out, when smoke spreads exponentially.

Which buildings need an evacuation plan?

Fire safety regulations typically make evacuation plans mandatory for certain categories of buildings. Failing to meet this obligation can result in significant fines and legal liability in the event of an accident.

  • Public buildings - schools, kindergartens, hospitals, health centres, sports halls, cultural institutions
  • Commercial buildings - offices, shopping centres, hotels, restaurants
  • Industrial facilities - factories, warehouses, production halls, especially those with an increased fire risk
  • Residential buildings - larger multi-unit apartment buildings
  • Places of public assembly - cinemas, theatre and concert halls, nightclubs

Standard symbols on an evacuation plan

Evacuation plans use standardized symbols according to ISO 7010 and ISO 23601. Using standard symbols ensures that everyone can understand the plan, including foreign visitors and people who are in the building for the first time.

Symbol
Meaning
Description
Exit
Emergency exit
Marks doors that lead to a safe route out of the building
Evacuation route
A green arrow shows the direction of travel toward the exit
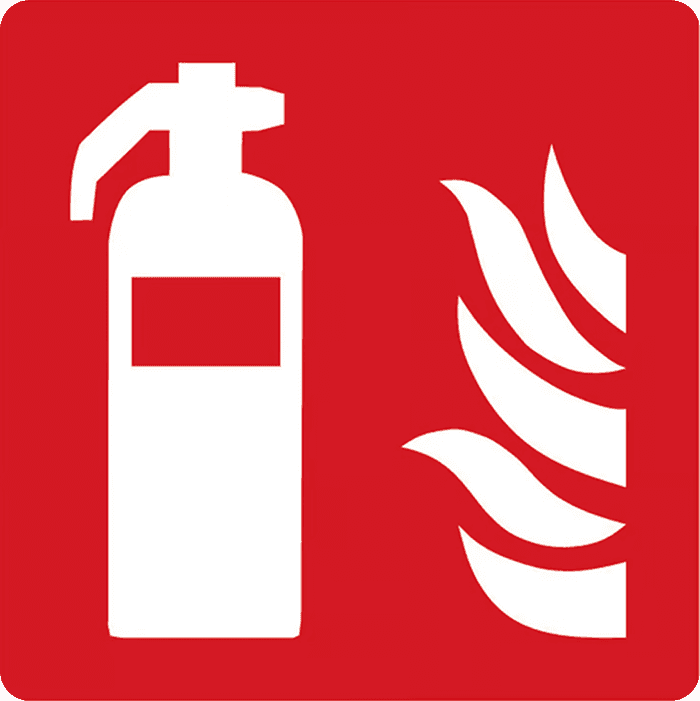
Fire extinguisher
Fire extinguisher
Location of a portable fire extinguisher
Hydrant
Hydrant
Indoor or outdoor fire hydrant
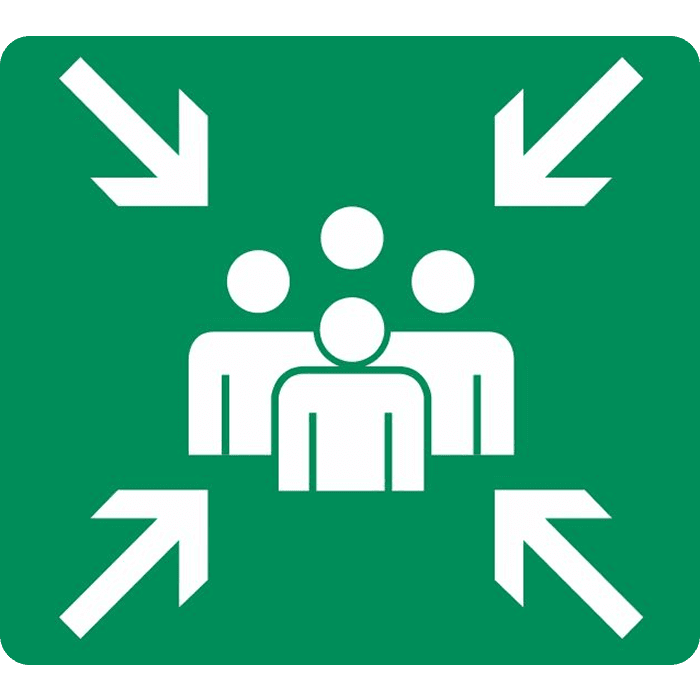
Assembly point
Assembly point
A safe place to gather after evacuating
You are here
Shows the viewer's current location on the plan

What must an evacuation plan include?

According to ISO 23601, an evacuation plan must include certain mandatory elements to be valid and effective. An incomplete plan may be rejected by fire safety inspectors.

  • Floor plan - a clearly legible, to-scale layout of rooms, corridors and stairways
  • Evacuation routes - marked with green arrows leading to the exits
  • Emergency exits - all exits clearly marked with the standard symbol
  • "You are here" marker - shows the viewer's current position
  • Fire safety equipment - locations of extinguishers, hydrants and fire alarm call points
  • Assembly point - the marked gathering place after evacuation
  • Legend - an explanation of all the symbols used
  • Emergency contacts - phone numbers of the emergency services

Where should an evacuation plan be posted?

Posting an evacuation plan in the right places is just as important as its content. The plan must be visible and accessible to everyone in the building at all times.

  • Entrance areas - main entrance, reception, lobby - the first point of contact with the building
  • Corridors and stairways - on every floor, especially near stairs and elevators
  • Areas with many people - conference rooms, cafeterias, waiting rooms
  • Mounting height - the centre of the plan 1.5 m (about 5 ft) above the floor
  • Lighting - the plan must stay visible in low-visibility conditions
  • Orientation - the plan must be oriented so that "up" on the plan matches the direction the viewer is facing

Steps to create an evacuation plan

Creating a good evacuation plan requires a systematic approach. Follow these steps to create a plan that meets all legal requirements and provides maximum safety.

  • 1. Get a floor plan - use architectural drawings, or measure the space and draw the floor plan yourself
  • 2. Identify the exits - mark all exits, including windows that can serve as emergency exits
  • 3. Define evacuation routes - mark the shortest and safest routes to the exits from every room
  • 4. Mark the equipment - add the locations of fire extinguishers, hydrants and fire alarm call points
  • 5. Choose an assembly point - pick a safe place far enough away from the building
  • 6. Add a legend and contacts - include an explanation of the symbols and the emergency service numbers
  • 7. Verify the plan - have it checked by a qualified fire safety professional

Common mistakes to avoid

Many people make mistakes when creating an evacuation plan that reduce its effectiveness or make it non-compliant with regulations. Avoid the following:

  • Unclear graphics - the plan must be legible from a distance of 1 metre (about 3 ft), so avoid small details
  • Outdated information - the plan must reflect the current state of the building, so update it after every change
  • Wrong orientation - "up" on the plan must match the direction the viewer is facing
  • Missing "You are here" - without this marker, people cannot tell where they are
  • Too much information - the plan must be simple and quick to read, so avoid unnecessary details
  • Non-standard symbols - use only symbols that comply with ISO 7010

How to use this tool

Our evacuation plan creator lets you easily create a professional plan in just a few steps:

  • Upload a floor plan - click "Upload floor plan" and select an image of your floor plan
  • Choose a tool - use the drawing tool to mark routes, or choose symbols to add markers
  • Add symbols - click the symbol you want, then click the spot on the floor plan where you want to place it
  • Draw routes - select the drawing tool and the green colour, then draw the evacuation routes
  • Export the plan - when you're done, click "Export" to download the image

Tip: For a professional look, use green for evacuation routes and exits, red for fire equipment and blue for assembly points.

A Guide to Creating Evacuation and Rescue Plans

Learn about the legal requirements, the key elements of a plan and the rules for posting evacuation diagrams.

The legal obligation to have an evacuation plan

Under occupational health and safety and fire safety regulations, employers are generally required to establish an evacuation and rescue plan and to hold regular evacuation drills.

In buildings used by large numbers of people (schools, hospitals, hotels, larger shopping centres and office buildings), the evacuation plan drawing should be permanently displayed in visible locations.

What must every evacuation plan include?

The evacuation and rescue plan drawing must be clear, easy to understand and include the following key elements:

  • Building floor plan: A clear layout of the rooms, corridors, doors and windows on that floor.
  • A "YOU ARE HERE" marker: A highlighted point that shows people their current location.
  • Evacuation routes: Green arrows showing the primary and (if there is one) secondary route to a safe exit.
  • Firefighting equipment: Markers for fire extinguishers, hydrant cabinets and manual fire alarm call points.
  • Assembly point: A gathering place outside the building where people must assemble after leaving it.

Instructions for safe behaviour (written section)

In addition to the drawing, an evacuation plan must also include written instructions. These usually include the following steps: 1. Stay calm and don't panic. 2. Activate the alarm or call the emergency number. 3. Leave the room by following the green arrows. 4. Do not use elevators. 5. Gather at the assembly point.

Frequently asked questions (FAQ) about evacuation plans

Where should evacuation plans be posted?

Evacuation plans should be posted at busy circulation points (main entrances, corridor intersections, in front of elevators and next to the stairs on every floor). In hotels and vacation rentals, an evacuation plan should be posted on the inside of the door of every room.

Is this online tool enough to meet legal requirements?

Our free tool is designed for quickly and easily creating informative floor plans and sketches (e.g. for small apartments, rooms or offices). For large and complex public buildings, official fire safety documentation and certified evacuation plans should be prepared by a qualified fire protection company.

Which standards define the symbols used on evacuation plans?

Safety signs on evacuation plans should comply with ISO 7010. The standard uses green for escape routes and first aid, red for fire equipment and prohibitions, blue for mandatory actions and yellow for warnings.